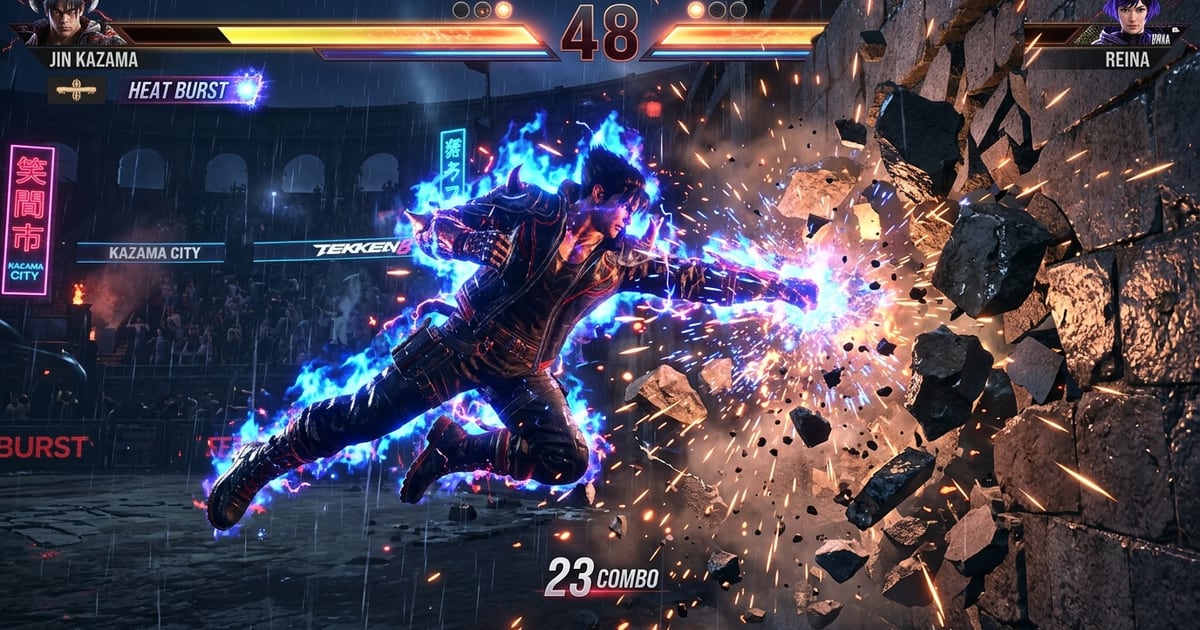
Bandai Namco’s Tekken 8 is built entirely around “Aggression”. Central to this philosophy is the Heat System, a round-based mechanic that grants armored starters, chip damage on block, enhanced signature character moves, and devastating combo-extending Heat Dashes.
Key Takeaways
- Heat Engagers vs Heat Burst: Activating Heat via a character-specific Heat Engager normal automatically dashes forward at massive +17 frame advantage, whereas raw Heat Burst (2+3) provides universal power crush armor.
- Heat Dash Combo Extensions: Holding forward during a Heat Engager move cancels recovery and ends the Heat state, launching aerial juggles into extended wall-carry paths.
- Stage Hazard Exploitation: Wall Breaks, Floor Blasts, and Hard Wall Splats reset combo damage scaling, allowing optimized Heat combos to exceed 100+ damage.
Heat Activation Comparison: Burst vs Engager
| Activation Method | Input | Frame Startup | Advantage on Hit | Armor Properties |
|---|---|---|---|---|
| Raw Heat Burst | 2+3 (RP+LK) | 16 frames | +2 on block / Float on hit | Absorbs high/mid strikes on frame 8 |
| Heat Engager Attack | Unique character move | Varies (14–18f) | +17f forced run / Wall carry | Guard break pushback against standing guard |
| Heat Smash Finisher | 2+3 during Heat | Varies (10–16f) | Massive knockdown / Chunk dmg | Consumes all remaining Heat gauge |
Optimizing Wall Carry and Hazard Routes
- Mid-Combo Heat Dash: When juggling an airborne opponent, route into your character’s Heat Engager and hold forward (F). The resulting Heat Dash carries the target across the arena directly into the boundary wall.
- Floor Blast Scaling: On stages like Ortiz Farm or Sanctum, hitting a Floor Blast hazard with a down-slam attack bounces the opponent back into launch state while resetting combo scaling back to 70%.
- Chip Damage Pressure: When an opponent is low on recoverable health, pressure them with heavy Heat-enhanced strikes. Chip damage cannot be parried or blocked, converting guard situations into chip-damage KOs.
Defensive Counter-Strategy
When an opponent pops Heat Burst, avoid pressing buttons into their armored frames. Step back to bait the whiff or execute a low poke, which bypasses high/mid power crush armor entirely.
The Heat Budget: Timers, Recoverable Gauge and Post-Launch Tuning
Heat is not only a set of attacks; it is a resource you spend once a round. Bandai Namco’s official battle system page lists Heat as “available once per round,” and gives it two different durations depending on how you enter. A Heat Burst carries a 10 second Heat Duration, while a Heat Engager carries 15 seconds. That gap is the first budgeting decision of a round: the raw Burst is an attack with Power Crush properties — defined on the same page as “an attack that has the effect of absorbing an opponent’s high or middle attacks” — so it doubles as a defensive call, but the Engager, which “can activate Heat when hitting an opponent,” buys five extra seconds if the goal is the longest possible Heat window.
Where those seconds go matters because of the Recoverable Gauge. The official page lists exactly what creates it — being “attacked in the air or while downed,” and “blocking certain special attacks or attacks during Heat” — and what restores it: the gauge recovers when you “hit your opponent or force them to block.” One action recovers it unusually well: “Hitting an opponent with a Heat Engager automatically brings you close to the opponent, and recovers a significant amount of recoverable health.” That is why the Engager functions as both offence and repair, closing the distance while clawing back chip damage.
The Gauge also sets the ceiling on chip-damage pressure. Heat’s passive benefit is that “even if an attack is blocked, damage can be inflicted as recoverable gauge,” but the defender is not helpless. During Rage, a character receives “less chip damage,” and a landed Rage Art “erases opponent’s recoverable gauge” altogether, deleting the health a blockstring was trying to bank. Committing to chip pressure without tracking the opponent’s Rage risk can therefore hand that banked health back in a single exchange.
The same page documents a routing failure mode worth knowing before a wall carry: “When using a Heat Dash after a Heat Burst in an aerial combo, the reaction changes and it becomes harder to follow up.” The dependable route is a Heat Engager into the Dash rather than a Burst into it, a distinction that matters most in the air, where a dropped follow-up costs the whole juggle.
Post-launch tuning has narrowed the extremes of this economy. Patch v3.00.02 “made adjustments to Heat Dash combo starters and select Heat-related moves,” targeting “moves where the reward was disproportionately high relative to the difficulty of confirming hits and the associated risks.” Patch v3.01.01 then “removed the Heat Timer recovery properties that were set on certain moves in order to prevent Heat state from lasting for an excessively long duration.” A route that stretched the 10- or 15-second window by recovering the timer can no longer be assumed, which makes spending Heat early and decisively more useful than hoarding it.
How the Recoverable Gauge Moves
| Trigger / action | Official rule |
|---|---|
| Creates the recoverable gauge | Being attacked in the air or while downed; blocking certain special attacks or attacks during Heat |
| Recovers the gauge | Hitting the opponent or forcing them to block |
| Best recovery tool | Hitting with a Heat Engager (auto-closes distance; recovers a significant amount) |
| Cancels the opponent’s gauge | A successfully landed Rage Art erases the opponent’s recoverable gauge |