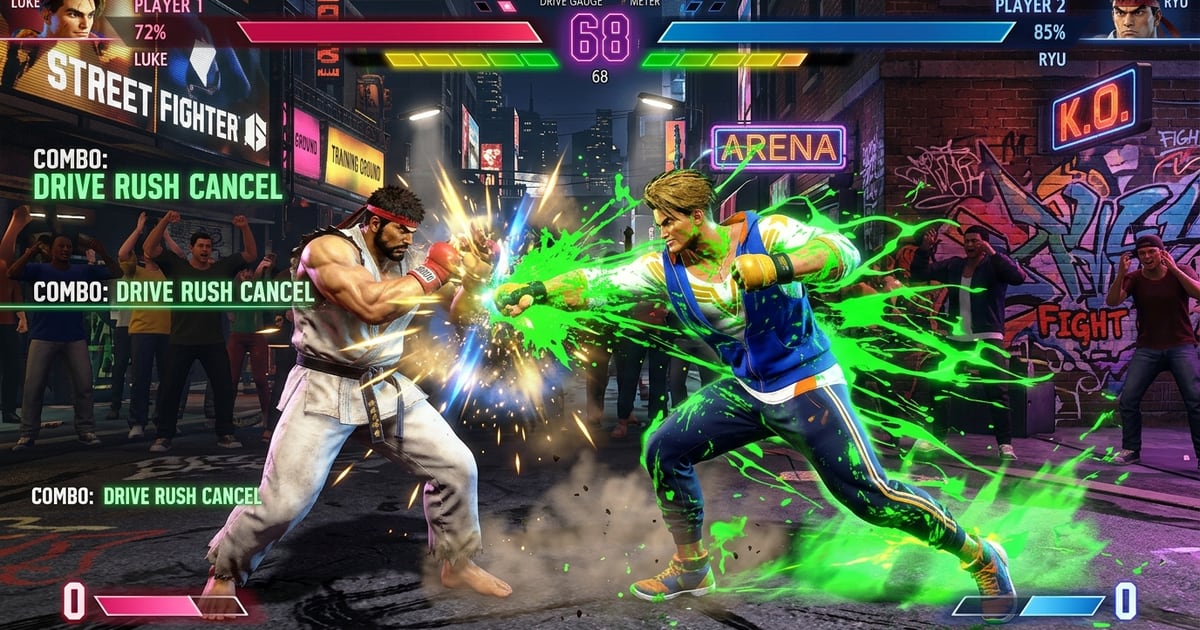
In Street Fighter 6, mastering system mechanics is what separates casual rank climbers from Master-tier tournament competitors. The entire offensive meta operates on the Drive System: manipulating frame advantage through Drive Rush cancels, enforcing inescapable 4-frame trap windows, and running relentless chip-damage loops against opponents trapped in Burnout.
Key Takeaways
- Drive Rush Frame Advantage: Any normal cancelled into Drive Rush gains an additional +4 frames of advantage on hit and on block, transforming negative buttons into oppressive pressure starters.
- 4-Frame Trap Timing: A true frame trap leaves a 1-to-3 frame gap between strikes; if the defender attempts to mash their fastest 4-frame jab, they are caught in a Counter Hit state.
- Burnout Vulnerability: An opponent whose Drive Gauge empties suffers an extra +4 frames of blockstun on every incoming attack and takes chip damage from all special moves.
Universal Frame Advantage Benchmarks
| Normal State | Base Advantage on Block | With Drive Rush (+4) | Opponent Defense Options |
|---|---|---|---|
| Standard Light Punch (Jab) | +1 to +2 frames | +5 to +6 frames | Trapped: mashing loses to follow-up medium |
| Crouching Medium Punch | -1 to 0 frames | +3 to +4 frames | Forced 50/50 strike-throw guess |
| Standing Heavy Punch | -3 to -4 frames | 0 to +1 frames | Heavy button becomes completely safe |
| Drive Impact on Block (Corner) | Wall Splat state | Wall Splat state | Free full combo extension |
Buffer Techniques for Drive Rush Cancels
- The Double-Tap Forward Buffer: While executing a cancellable crouching medium kick (2MK), immediately tap forward twice during the hitstop freeze. If the strike touches the opponent (hit or block), Drive Rush cancels automatically; if it whiffs in neutral, the forward inputs are discarded safely.
- The Drive Parry Macro Button: Modern SF6 allows tapping the Drive Parry button (MP+MK) during a cancellable normal to execute Drive Rush cancels with 100% mechanical consistency.
Corner Burnout Trap Sequences
When an opponent is in Burnout, lock them down with heavy normals that force +4 blockstun, push them toward the corner wall, and execute Drive Impact. Because they cannot Drive Reverse or Parry in burnout, wall-splat stun is guaranteed.
Drive Gauge Costs and Escaping Drive Rush Pressure
Every trap in this guide is funded by the Drive Gauge, so the pressure lasts only as long as the meter behind it. Capcom’s Drive System breakdown prices the two rush types explicitly: “Drive Rush from a parry costs 1 Drive Stock, while Drive Rush from a normal attack costs 3 Drive Stocks.” A cancel into rush is therefore the expensive version of the same dash, and because the gauge “replenishes automatically” but a full spend puts the attacker into “a burnout state with big disadvantages,” a three-stock cancel is a commitment rather than a free extension.
Capcom’s official frame data records the same cost on the damage side. Both the Parry Drive Rush and the Cancel Drive Rush rows carry the entry “Multiplier scaling 15%” in the combo-scaling column, which the same page’s legend defines as the “Scaling value that is multiplied by subsequent combo scaling values when incorporated into a combo.” A combo that routes through a rush is therefore scaled down, so the +4 advantage described above is bought at a damage price.
The defender is not without options, and the frame data makes them concrete. Drive Reversal — “Perform a counterattack while blocking an opponent’s attack,” in Capcom’s words — is built to escape exactly this pressure. Capcom’s frame data gives Guile’s version 20 frames of startup, 26 frames of recovery, 500 damage, a block advantage of -6, and the note “Completely invincible on frames 1 - 22”; the damage is “Recoverable.” Because the invincibility covers the startup, a Drive Reversal thrown during the blockstun of a blocked Drive Rush cancel punches through the follow-up and knocks the attacker back. The 202405 Ver. battle change list later set the move’s “Recovery on block … from -8 to -6 frames.”
That same 202405 Ver. update added a second escape. Recovery Drive Reversal “can now be performed during the recovery from a knockdown,” and “the attack start-up is 18 frames, which is 2 frames faster than the normal Drive Reversal”; the frame data entry confirms 18 frames of startup and invincibility on frames 1 - 20. Against a trap that ends in a knockdown rather than blockstun, that version leaves the ground two frames sooner.
Capcom also rebalanced the parry half of the exchange in the same patch, and the numbers matter to anyone trying to parry out of pressure. Drive Parry’s “shortest possible active parry hitbox time has changed from 8 frames to 12 frames,” its “Recovery after the active frames has changed from 29 frames to 33 frames,” and “after absorbing an attack, the time until the Drive Gauge starts to auto regenerate has changed from 60 frames to 20 frames.” Perfect Parry now returns less meter: “Super Art gauge increase has changed from 100% to 80%,” “Drive gauge increase for the attacker has changed from 100% to 50%,” and “Drive gauge decrease for the damage-taker has changed from 100% to 50%.”
The escape options, as recorded in Capcom’s Guile frame data:
| Defensive option | Startup | Key frames / values | On block |
|---|---|---|---|
| Drive Reversal (from blockstun) | 20 frames | invincible frames 1-22 | -6 |
| Recovery Drive Reversal | 18 frames | invincible frames 1-20 | -6 |
| Drive Impact | 26 frames | Super Armor for 2 attacks, frames 1-27 | -3 |
| Drive Parry | 1 frame | active hitbox minimum 12 frames; 33 frames recovery | — |
Read together, the two numbers that decide a trap are the attacker’s rush cost — three stocks for a cancel, one for a parry rush — and the defender’s reversal window: frames 1 - 22 on a 20-frame move. Spending three stocks on a cancel that eats a Drive Reversal is a losing exchange in both meter and position.